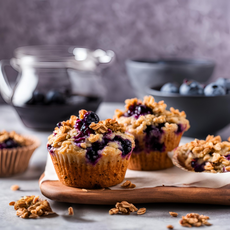
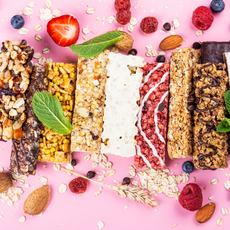
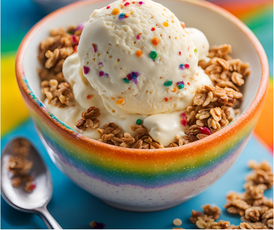
This summer, skip the hot oven and create a delicious (and adorable) dessert the whole family will love. These No-Bake Granola Graham Cheesecakes are perfectly portioned, cool and refreshing, and so easy to whip up – even with little helpers in the kitchen!
Staring a Safe + Fair summertime favorite, Huckleblueberry Granola for a crumbly crust and a creamy cheesecake filling, these sweet treats are a win-win for taste and convenience. Plus, they're customizable! Feel free to swap the cream cheese and yogurt for your favorite dairy free alternative for a plant-based, allergen free goodie! You can also swap our Huckleblueberry Granola for our Strawberry Shortcake Granola, swapping blueberries for strawberries to enjoy an equally delicious dessert! So grab your ingredients and get ready to make some cool memories (and yummy treats) in the kitchen!
What You’ll Need…
For the Filling:
- 3/4 cup crushed Safe + Fair Huckleblueberry Granola
- 1 Tbsp coconut oil, melted
- 8 oz. cream cheese, softened (regular or dairy free)
- 1 cup plain Greek yogurt (or dairy free alternative)
- 2 Tbsp pure honey
- 2 tsp vanilla extract
For the Topping:
- 2 cups fresh blueberries
- ¼ cup maple syrup or pure honey
- 2 tablespoons water
- 1 tablespoon fresh lemon juice
- ½ teaspoon vanilla extract
What You’ll Do…
For the Filling & Granola Crust
- In a small bowl, stir together the Huckleblueberry Granola and coconut oil. Spoon about 2 Tbs. of the mixture into each 4- to 6-oz. jar, and press down with fingers or a spoon to create the crust. Set aside.
- In a large bowl, mix cream cheese, yogurt, honey, and vanilla until incorporated. Spoon the cream cheese mixture into each jar on top of the crust.
- Refrigerate for 1-2 hours to allow it to set up.
For the Blueberry Topping:
- Combine 1 cup of the blueberries, the maple syrup or honey, water, lemon juice, and vanilla in a small saucepan. Simmer over medium heat for 10 minutes, stirring occasionally.
- Add the remaining blueberries & cook for another 8 minutes, stirring occasionally. Remove from the heat & let cool before topping your mini cheesecakes. Then dig in and enjoy!


